Tutorial: Abstract Marble Nail Art
February 27th, 2012 by Sofie | Published in Beauty | 4 Comments
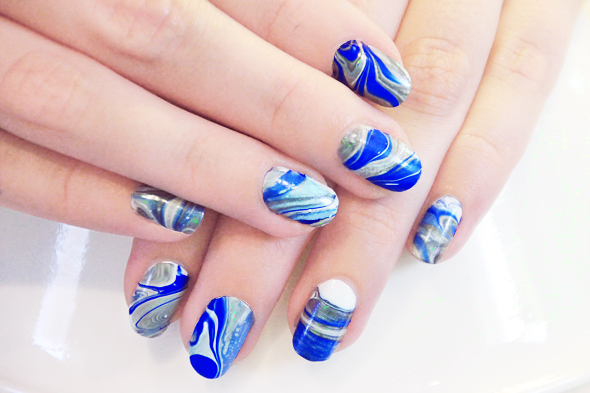
Learn how to create this abstract water marble nail art on your nails! For this tutorial, we will be creating an abstract design with 4 colours (or 5 including your base). You can use as few or as many colours as you like. Read on to learn how to do this at home.
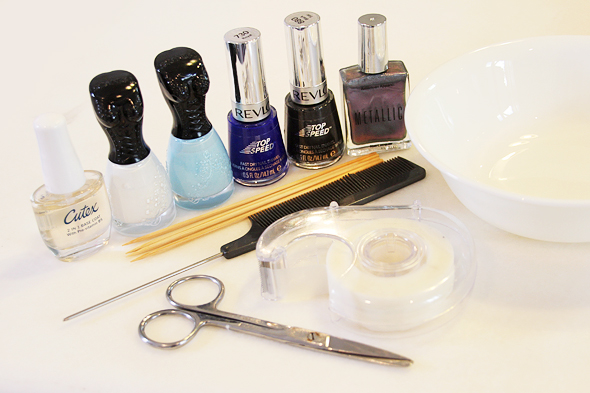
What you will need:
- Base coat
- White nail polish
- 2 shades of blue polish
- Black polish
- Metallic polish colour
- Skewers, toothpicks or the end of a styling comb
- A bowl
- Sticky tape (the matte kind - easier to peel off your skin!)
- Scissors
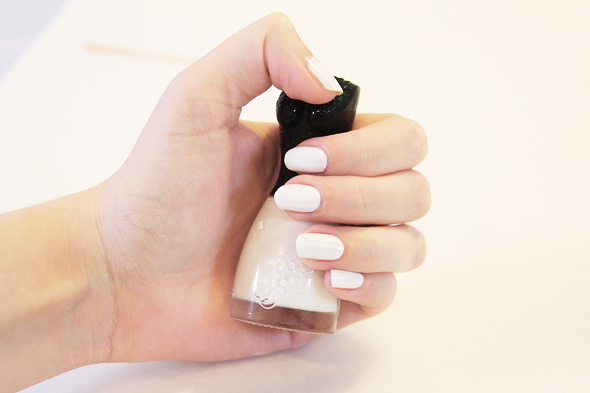
Begin by giving your nails a few coats of white polish and let them dry completely. This will act as your base or your blank canvas.
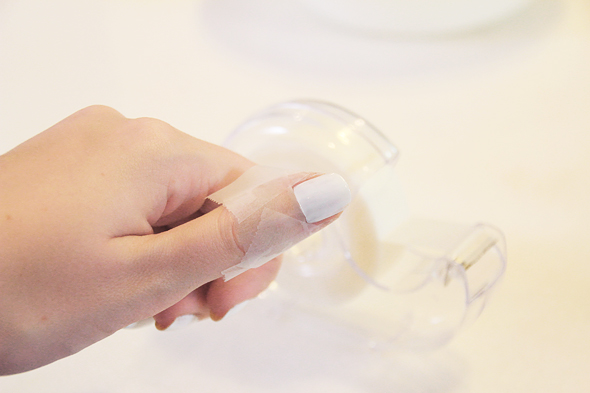
Use sticky tape to cover the skin around your nail. The more you tape, the less to clean up later! If you tape very neatly, I’ve found that no cleanup after removing the tape is necessary. I also suggest taping a little further down your finger, otherwise you might have marbled fingers.
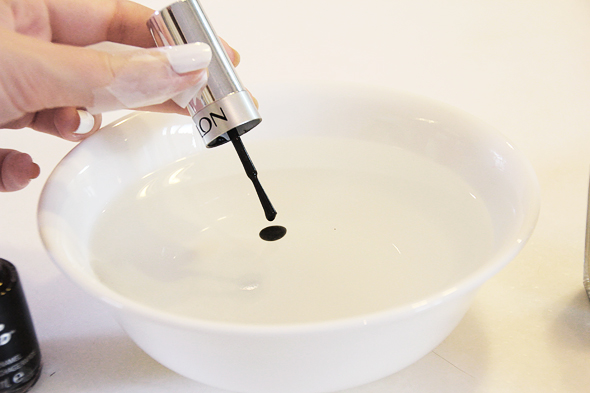
Fill your bowl with water and begin to quickly place single drops of the polish into the water.
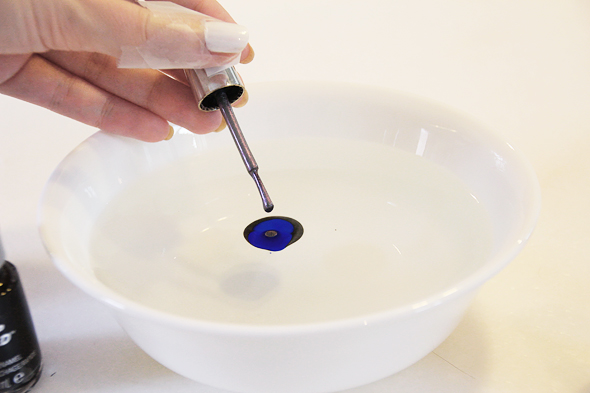
Continue to add drops of the colours in any order you like, but be fast - the polish dries quickly!
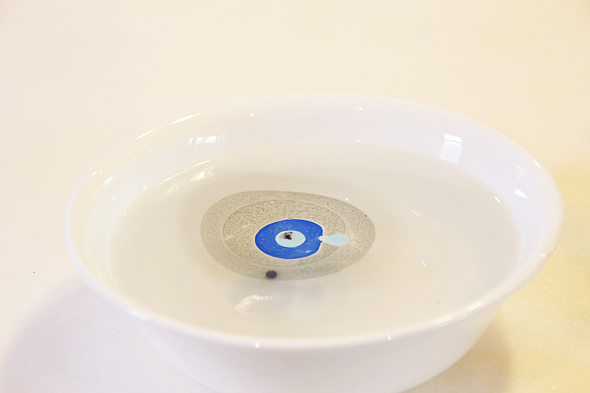
The colours should spread out in the bowl a little something like the above.
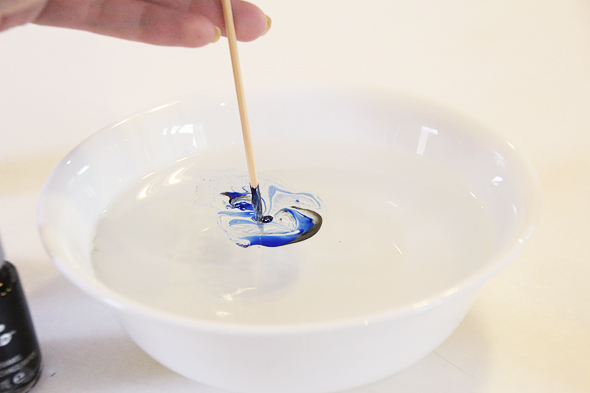
Take your skewer/toothpick and lightly and gently move the polish to form patterns. This part takes the most practice. You may have to empty the bowl and start again if the polish has dried too quickly.
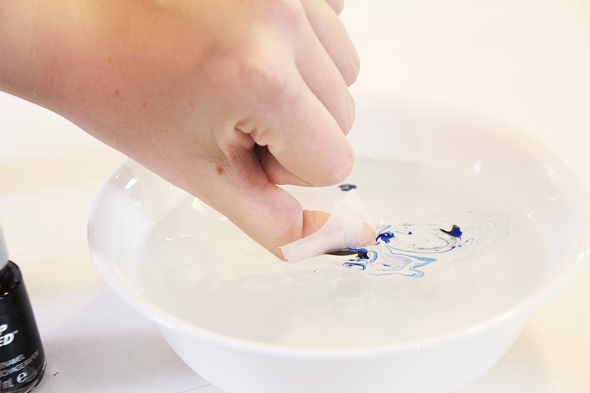
Choose a section of the polish pattern that you like and gently lower your taped nail into it. You can leave your finger right underwater, but be careful not to touch the base of the bowl, because this can smudge the pattern.
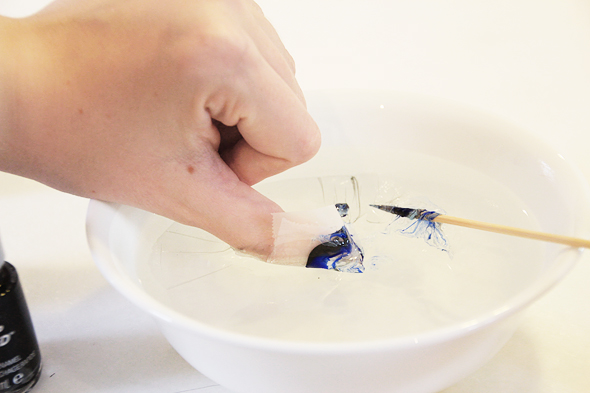
Leaving your finger submerged in the water, use your toothpick to clean up the dried polish on the surface. This prevents any remaining polish from ruining your design when you remove your finger from the water.
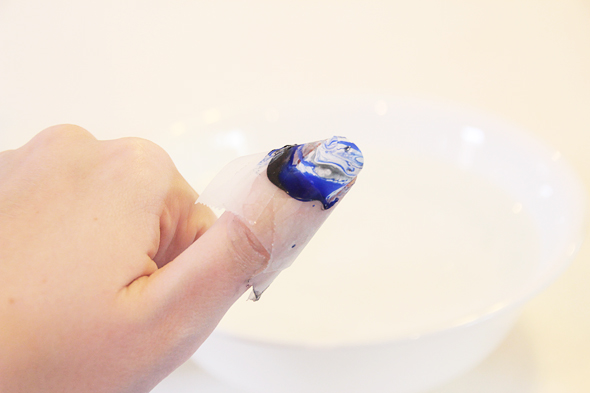
Take a look at your pattern! Sometimes neater, simpler patterns can work really well, but more abstract and detailed ones can look cool too.
Continue to repeat the steps above until you have a pattern on all of your fingernails. Have fun experimenting with different shapes and forms of the polish, and mix up the number and order of the colours you choose.
Polishes used in this tutorial
- Cutex 2 in 1 Base Coat
- Scandal in Marine Blue
- Scandal in French White
- Revlon Top Speed in Royal
- Revlon Top Speed in Black Star
- American Apparel Metallic in Smoke Dazzle


February 27th, 2012at 8:47 AM(#)
Wow, I can’t wait to try this out for fashion week. I love the colours you used, its so pretty.
February 27th, 2012at 9:17 AM(#)
This is crazy cool Sofie! The patterns looks so complex, I couldn’t imagine how to begin doing such a wicked design, but your tutorial is so clear that I feel even a klutz like me could give it a go!
March 13th, 2012at 9:46 PM(#)
Yours turned out so much better than mine! I think it’s all in the colour combination. I’ll have to give this another try.
October 2nd, 2012at 5:04 PM(#)
This is amazing! i need to try it!